Pages

Monday, August 19, 2013

Old Dresser Transformation

I picked up an old dresser from Salvation Army about 2 years ago.  It has been sitting in my garage collecting dust....until now!

I thought I had taken a photo of it before refinishing but turns out I did not.  It used to look something like this:


Before:


 Now it looks like this:


After filling in all of the gauges and dings the old dresser had with wood putty, I repaired 2 of the legs with wood glue.  Then the entire dresser was lightly sanded with medium grade sandpaper.  I didn't spend too much time sanding.  20 minutes did the trick!

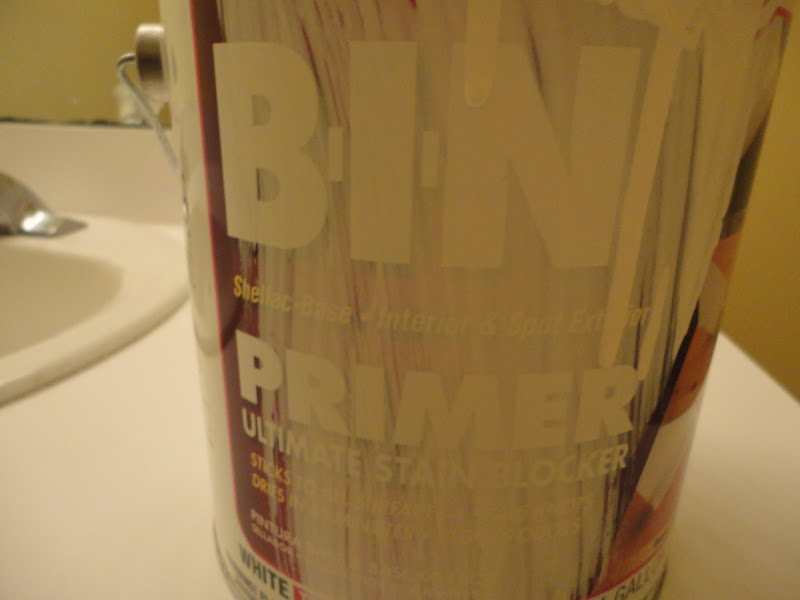
After wiping the dust off with a damp cloth, I primed the dresser with Zin stain cover primer.  I used the latex primer (not oil based) because it's easier to clean and doesn't smell as much as the oil based version.  I primed with 1 coat just to get the paint to adhere to the dresser.


 Primed drawers drying in the driveway:


Primed dresser body:


Primed side of dresser:


 As you can see, the primer doesn't cover the brown stain of the dresser completely.  The purpose of the primer is to get the paint to stick well to the dresser.  I decided to prime and paint the back of the dresser too, although you may decide to skip the back.  If you won't see it, why paint it?

By the time I was finished priming, it was dry enough to get the first coat of paint on.  I used the white trim paint that is all over my house: Benjamin Moore Dove White (or is it White Dove?) in a semi-gloss.

A nifty trick to get the paint to roll and paint on smoothly is to use Floetrol:


 Floetrol is a paint conditioner and it helps with less noticeable brush strokes.  The paint job is much smoother as a result.

For the blue color of the drawers, I used Benjamin Moore Wyeth Blue cut in half.  I added half of the Dove White to create a less intense blue.  I used the leftover can from painting my front door Wyeth Blue.

I thought I could get away with 2 coats of paint on top of the primer, but to get the coverage I wanted, I ended up with 3 coats of the Dove White.  2 coats of the Wyeth Blue on the drawers was fine.

I thought about getting new hardware for the drawers, but I kind of liked the hardware the old dresser came with so I shined it up with Brasso:


This stuff is very easy to work with and made the old pulls look like new!


They look silver here, but they are brassy in real life.


I put the dresser in my dining room because I need some storage since I sold the sideboard.  I will be revealing the new dining room eventually (you can sneak a peek at the table, below).  For now, I'm enjoying this revamped old dresser!


:)

Monday, May 6, 2013

Dining Room Redesign with Trestle Table


Restoration Hardware  
 It all started with the photo above from Restoration Hardware.  


I have been debating whether to trade in my classic cherry Ethan Allen dining room.
        
 This is my dining room set:


There is absolutely nothing wrong with it and it is definitely a classic and beautiful but I was looking for something a little more rustic.  I FINALLY decided to sell it and I'm happy to report it was bought by an adorable young couple.

Now, time for me to decide on a new table and chairs! 


Centsational Girl


 There's this awesome table Kate has at Centsational Girl.  I love this one!  She has a great post on her hunt for this table.


Arhaus 
 Almost went with this one from Arhaus.  They were having a great sale!


houzz.com
 Then I spied this photo from Houzz.  It's the salvaged wood Restoration Hardware table with white slip covered chairs from IKEA!  Perfect!  BUT wait!  The table is a little too rustic.  From some reviews I have read, the table is rough to the touch and is totally unfinished.  While this sounds great to some, my kids do their homework on our dining room table and I don't want them getting splinters. 

I need a rustic looking table but not too rustic.  Although Centsational Girl's table looks like it fits the bill, I wanted something a little less refined than that.  Something in the middle of Kate's table and RH's table.

Enter this beauty:


Zin Furnishings


Another shot with chairs:


This table is from Zin Home.  I spoke with them several times and I am convinced this is the table I have been searching for!  I am still waiting for it but the price was right and with free shipping, I went ahead and ordered it sight unseen.  I am a bit nervous, but confident I will like it. 

Since there is no IKEA for at least a 4 hour car ride from Syracuse, I ordered these slip covered chairs and had them shipped. 

Ikea

They are sitting in my garage, but I am planning on opening the boxes and setting them up. 

In the meantime, it's time to paint my LR/DR!

:)

Sunday, December 16, 2012

Heartache


My thought and prayers are with the Newtown, Connecticut community.  I cannot fathom the depth of the loss of the families who lost their children or loved one.  Love to all.

Thursday, November 15, 2012

Wyeth Blue Front Door!

My front door needed some love.  It was black and boring.  Some black doors look great....but not mine:  (The stairs look great, though!  You can find that makeover here).

Here is the before:

 Before


 And the AFTER in Benjamin Moore Wyeth Blue, the color of the year in 2011.
 
 After


It had a brass kick plate and a brass handle and lock.  We took that off and this is what remained:


I scrubbed the door to get any dirt and griminess off, then sanded.  After wiping down with a damp cloth and letting the door dry, it was priming time!


I only painted 1 coat of primer and thought it would work out.  I ended up with 1 coat of primer and 2 coats of the beautiful BM Wyeth Blue.  I've been eyeing this color for my front door for a long time. 
I wasn't sure it would look good with my off white/cream trim and brick house but it's just paint, right??

I'm very happy with it!  Much improved from boring black!


Notice the new hardware and kick plate too!  It really makes a difference!


:)

Saturday, April 7, 2012

Painting Cabinets: A Quick Primer.....

 ......on primer!

The right primer makes painting cabinets so much easier in much less time.  Your cabinets can go from this:


to this:


in less than an hour!  Well, actually, the first 2 coats of primer can be done in an hour.


First you start by picking up some of this:


It is BIN Shellac Base Primer.  It smells really terrible so be sure to wear a mask.  If you can close the door (like in a bathroom) please close it.  If you can't (like in a kitchen) you should seal it off with tape, staples and plastic sheets.  I really smells THAT bad.  BUT if you want the job done quickly, this is the way to go.  It dries in 45 minutes!  Then you are ready for another coat of primer, then you can paint 2 coats of your regular paint.

To break it down, these are the steps:

1. Sand your cabinets (it is optional to take off the doors.  I did not).
2. Wipe your cabinets down to remove any sanding residue.
3. Prime with BIN Shellac Base.
4. Wait 45 minutes.
5. Sand and wipe down the cabinets down again.
6. Prime again with BIN Shellac Base and wait another 45 minutes.
7. Sand the cabinets again.  Touch it.  They will be nice and smooth after sanding.
8. Wipe down the cabinets again to get any residue from the sanding off.
9. Paint the cabinets with BM Impervo.  This is great for cabinets.  It creates a hard shell perfect for durability a cabinet requires.


 I've also heard great things about BM Advance but I haven't tried it. 


10. Be patient here.  I like to wait overnight before I sand and wipe down again, then...
11. Paint a second coat of Impervo.  So I sort of lied about having cabinets painted in 1 day.  But if they don't need another coat then 1 day would do it.

12. After your 2nd coat of Impervo, let the cabinets dry overnight (yes, again) then change out the hardware (knobs).

You will love them!


Here are some in progress pics:


This is after the first coat of BIN Shellac Primer


 This is after the second coat of primer


This is after the second coat of BM Impervo

The coverage is excellent!

:)

Wednesday, February 15, 2012

Powder Room Reveal!

The powder room is just about complete!  It is pretty close to my inspiration photos so I'm pretty happy with the way it turned out.

I'll have more details to follow, but for now here are some fun before and afters!

Before - dull and brassy:


And.....After.  Bright and Shiny!


Before:


After:


Before:


After:
Notice the giant crystal pulls!  Found them at Home Depot.


Before, the yuck sink:


After, the vessel sink and faucet from Overstock in satin nickel:

I was really impressed with the sink and faucet set.  The faucet is really substantial and the sink was pretty easy to install.  To keep it from moving around I caulked around the edge with clear silicone and the caulk holds it in place on the marble top.  There is no splash factor when the faucet is on.  So far, it has been working really well!


Instead of installing bead board, I decided to paint the wall two tone.  There is an upcoming post on the colors and how to get a great straight line when painting stripes.

Thanks so much for looking!

:)

Saturday, January 28, 2012

Bathroom Inspiration

I'm getting prepped to re-do the powder room....FINALLY!  The sink has been ordered and so has the vanity top.


This is the sink and faucet I ordered from Overstock:


These are my inspirations:
 
Sarah Richardson


cotedetexas.blogspot.com
The above bathroom came from an awesome ranch renovation you can check out here.